COMPUTER-CONTROLLED MACHINING
Objectives of the week
- To test runout, alignment, speeds, feeds, and toolpaths for Shopbot machine.
- To make design of something from plywood which is usefull and by designing that we should get the knowledge of various parameters we have studied in the group assignment. After designing it mill it and assemble it which is something big.
- In this assignment we have studied different parameters of shopbot machine.
- Before going for the milling of our individual object on shopbot we have desided in the group. To design a simple object by which we can get the idea of different parameters and settings of the machine.
- Also, we have studied "Partwork" to generate toolpath and "Shopbot-3" for operating machine. .
1. Group assignment
2. Individual assignment
Learning outcome:
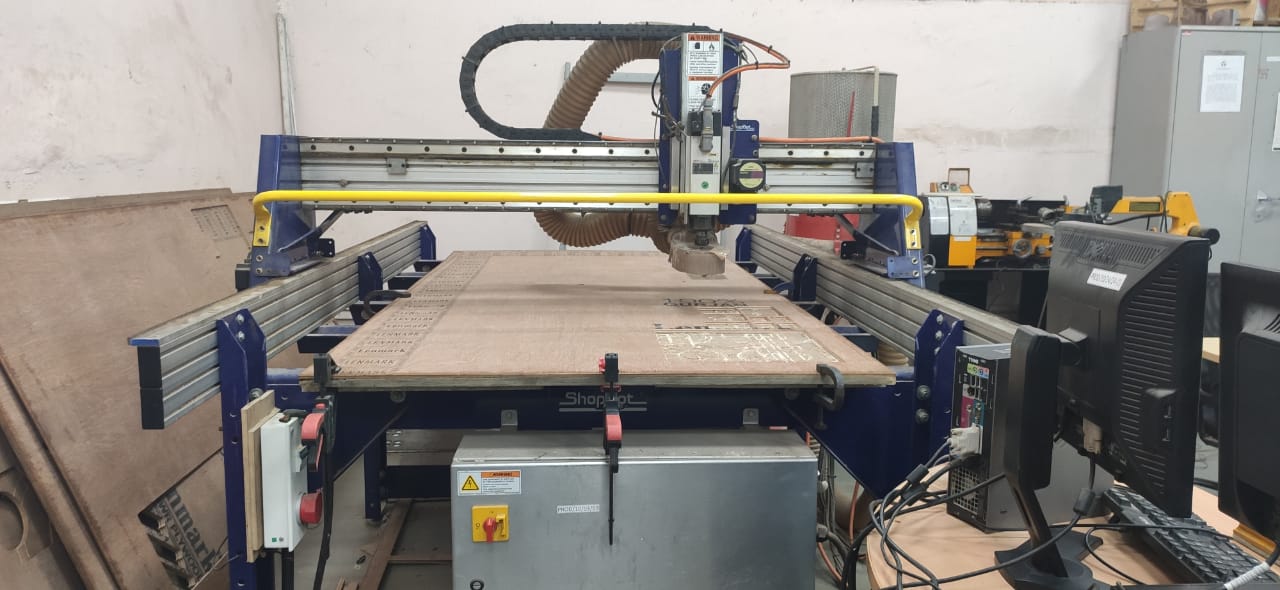
Above machine shows the Shopbot machine. ShopBot is the leading innovator in affordable digital fabrication. ShopBot insures the digital productivity of shops of all sizes by making tools that are easy to use, easy to get started with, easy to get into production, and by providing outstanding customer support & training effectivelly.
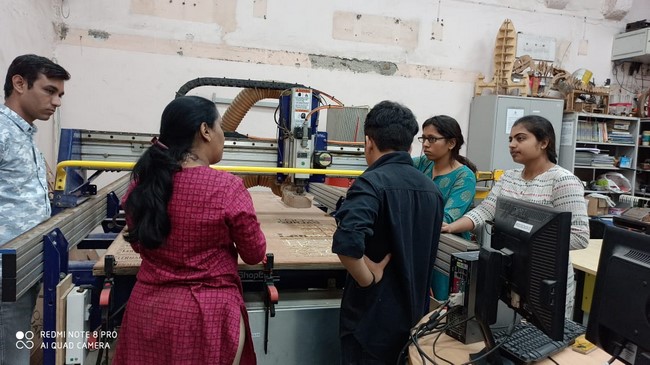
For understanding different parameters of shopbot an to know the various settings we have visited COEP. The College Of Engineering Pune. This college have the facility of shopbot and they have gave us permission to use it for our assignment. We were unknown about operating the shopbot. Miss. Apeksha Siddharth who is the professor at COEP and also a our "Instructor" for Fabacademey 2020 have explain us all parameters and settings of shopbot. She also have help us for milling our sample object of group assignment.
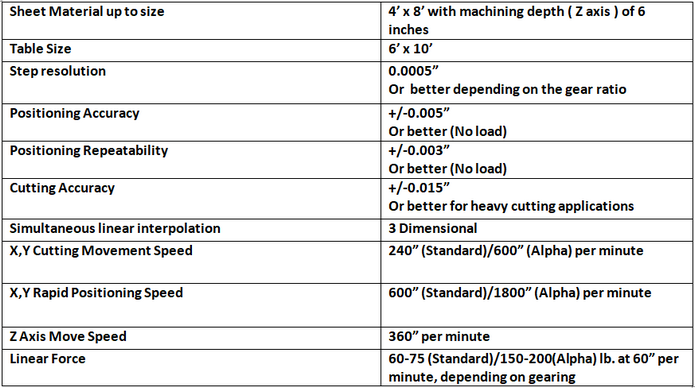
In the below image we can see the specifications of shopbot machine in COEP.
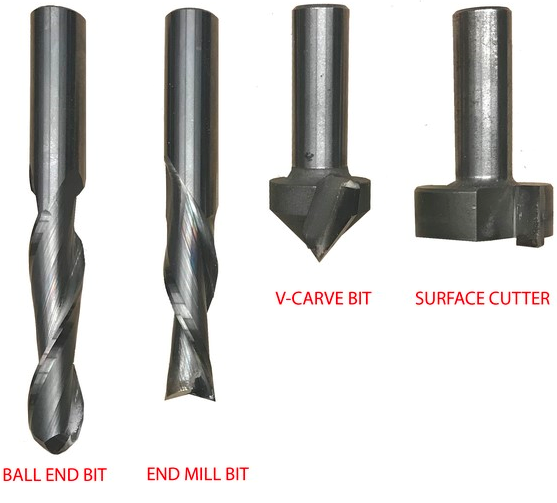
The shopbot machine at COEP is a 2.5 axis which runs on 230 volt supply. It has 8'*4' standard bed size and able to cut wood and plywood. It has guideways in X, Y axis and a router is at the z-axis which is capable to spin 12000 rpm. We are using end mill as a cutting tool for this machine.
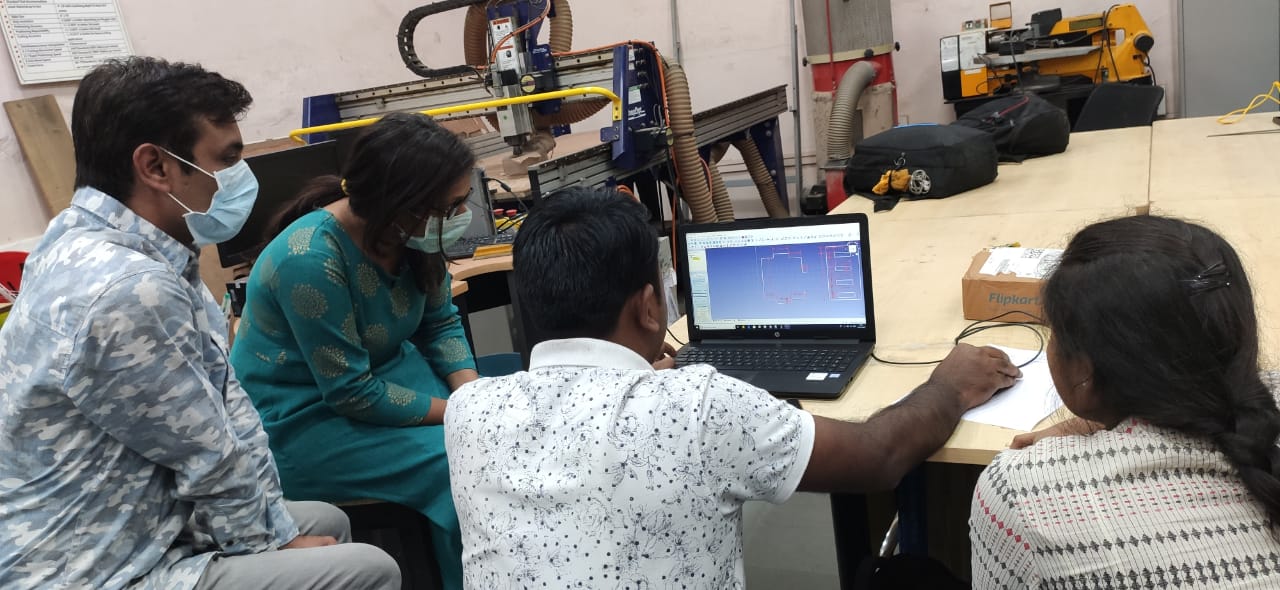
For milling the sample object on shopbot. Our group member Mrs. Nikhil have design a sample object which has 4 slots in Freecad. We have designed this object to the kerf of the machine. Because, in this week we were going to design a object which will be a pressfit design. We were unknown about the kerf so, we have design 4 slots of dimensions 30mm, 35mm, 40mm and 60mm. Also, we have design a extruded parts which has the clearance of 0.2mm clearnce for all dimensions
Actual trial on shopbot :
Miss. Apeksha have guided us for how we should handel the machine as it was our first time of handelling shuch a big wood router. She told us some important points related to shopbot.
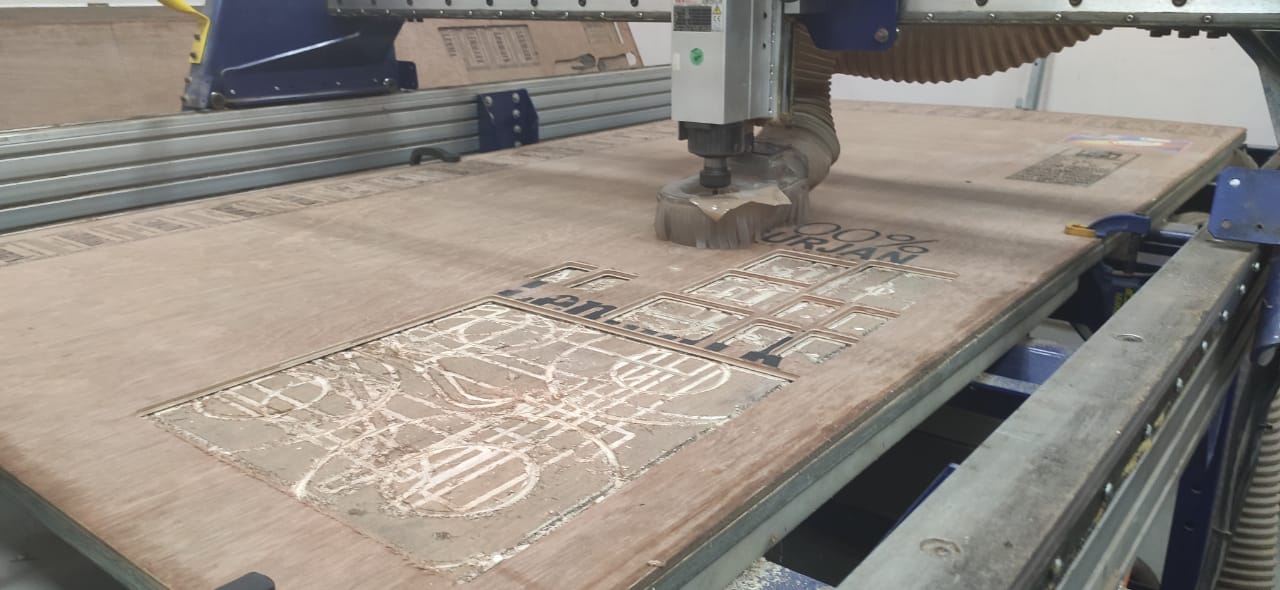
In the image we can see the bed of the router which has 6' X 10' bed size. For taking trial on shopbot we have used 8mm thickness plywood.
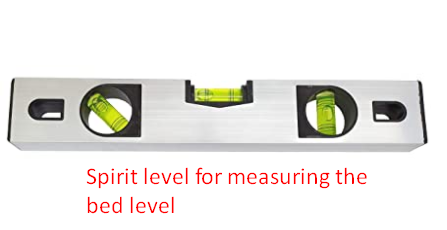
In this image we can see the Gantry Tool . In the middel of which we have mounted the tool.
a. Collet
b. Shank and the nut that tightens the collet.

|
|
Software settings :
Set the width, height and thickness of the sheet. Here the thickness, width, and Height of the sheet was 8mm, 2400mm, 1200mm respectvelly.
First we have to set the parameters of the tool. Select the Tool database. and select Straight 1/4" tool from the list. Here we also need to select the toolpath. There are two options.
We have choose both options one by one to check the performance of the machine.

Then we have to call our design file. In the image it is just an example of another file and click on calculate.

After that the window gets open on the screen which contanted a warining. Which is nothing but the message of to start the tool.

The tool-path is get created and we can see it on the screen.

Click on Save as option to save the file. It is important to save the file so that we can open it in Shopbot editor for further settings.

Now open the Shopbot editor. Where we have to give command to the machine.

Now we have to move the X,Y, and Z coordinate to go for the required position of the tool on bed.

Here we have selected the position of the tool.

Finally we need to load the file we have saved to cut on shopbot .

Steps for operating Sopbot :
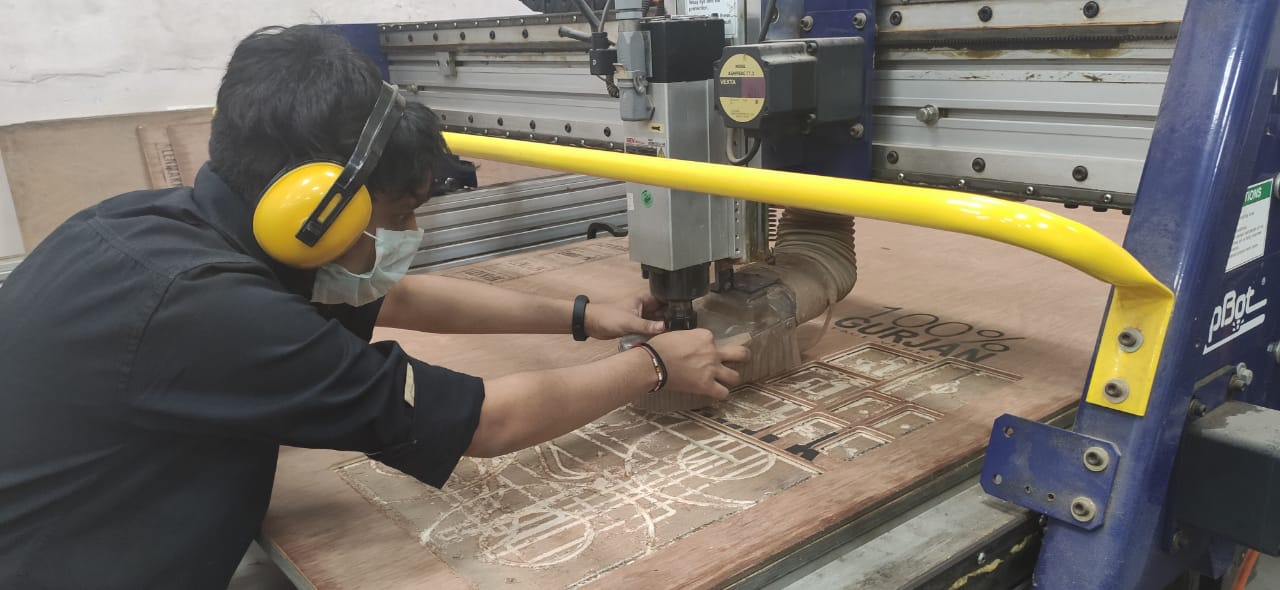
Here first we have tighten the tool.

Next I have clamped the plywood sheet which is on the sacrificial layer with the help of C-clamp.
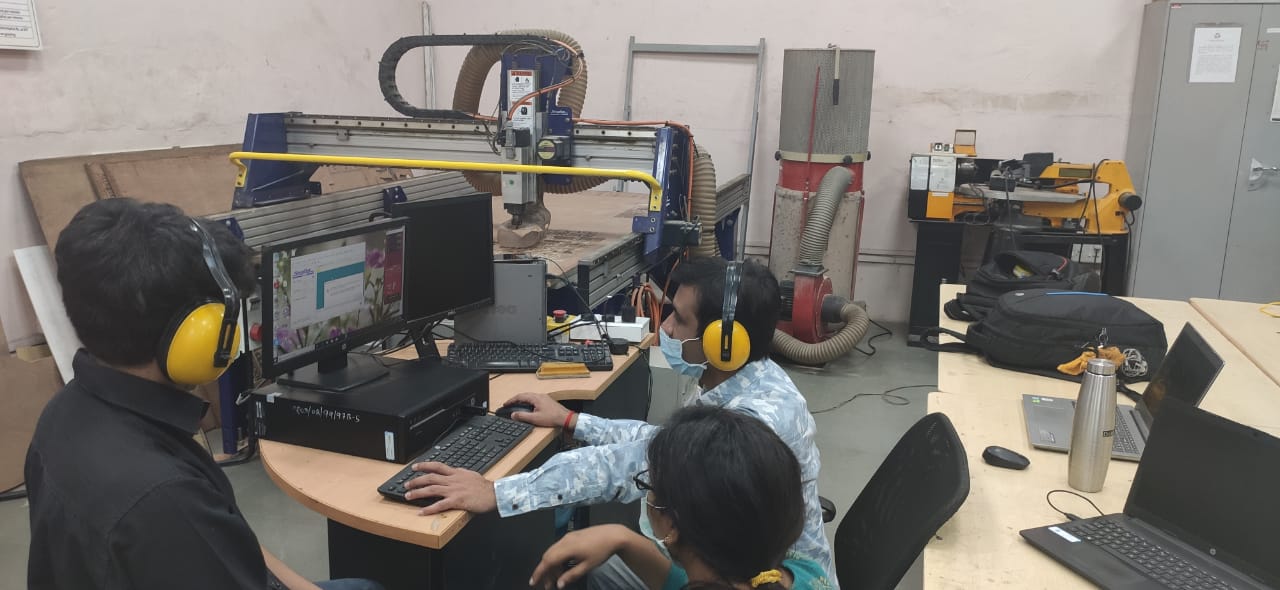
Then we have to operate the machine with the help of software. Here we have used Partwork as a editting software where we have to save our parts in .dxf or in pdf file and Shopbot editor as a machine software for operating the machine.

Finally we have remove the part from the bed.
We have tested the dimension of the part, we have find the difference of 1mm in our original design and test part.

Test part is ready. After actual testing we have found that for 8mm sheet of plywood we have to consider 1mm kerf in our design.
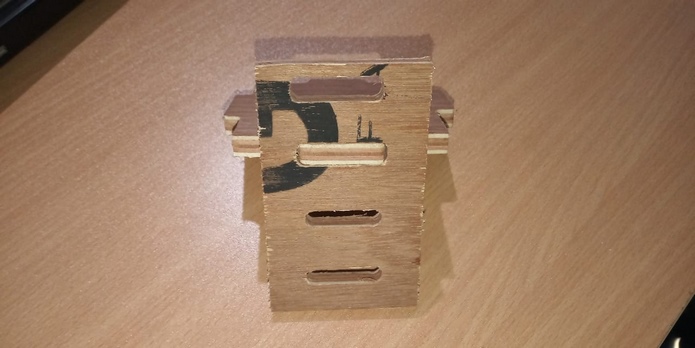
Observations : -
After having actual trial on the shopbot we have get following results.
Here I have provided the design files of two object, one is design of slots and other is design of press-fit object.
